Project One: Virtual AR-tifact
Creating 3D models of artifacts that I selected from the past, present, and future. The models will then be put into AR via Adobe Aero.
Phase I: Planning
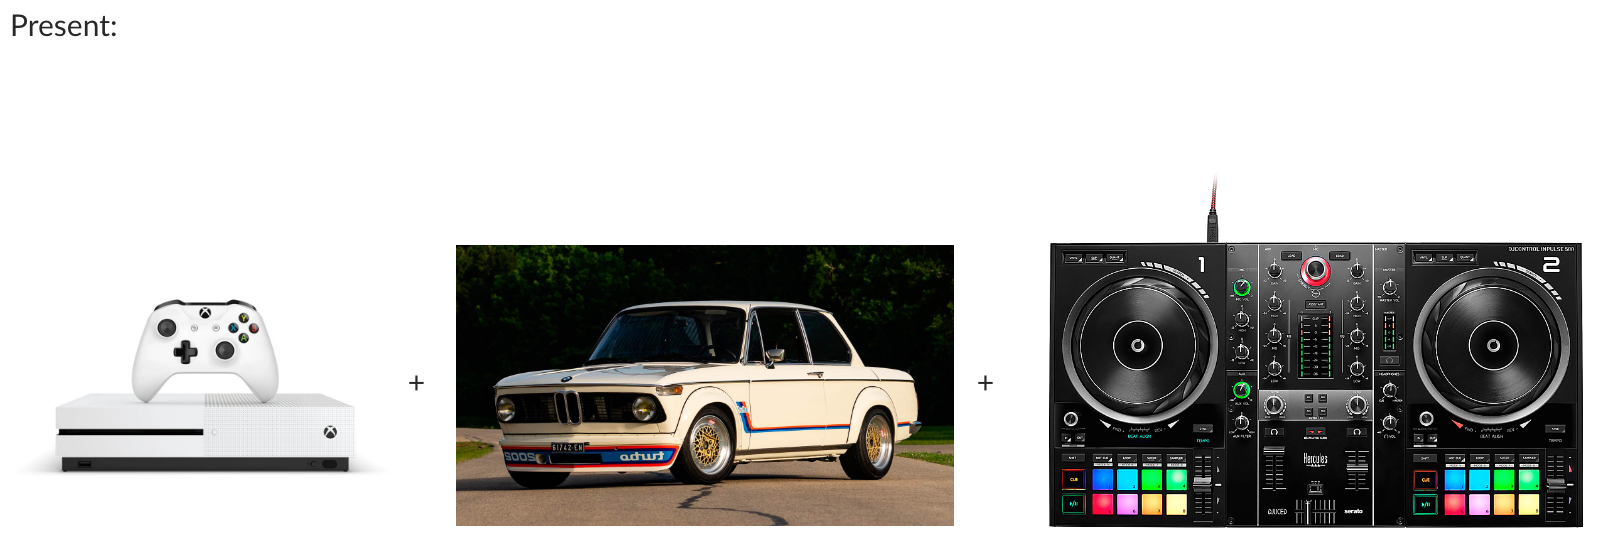
I knew that I wanted to create something nostalgic that had a similar vibe to each other that also challenged me in terms of learning Blender. From here I began to pull from older analog forms of technology. This pushed me towards the idea of monitors and tech from my youth. Below are my initial plans and inspirations:


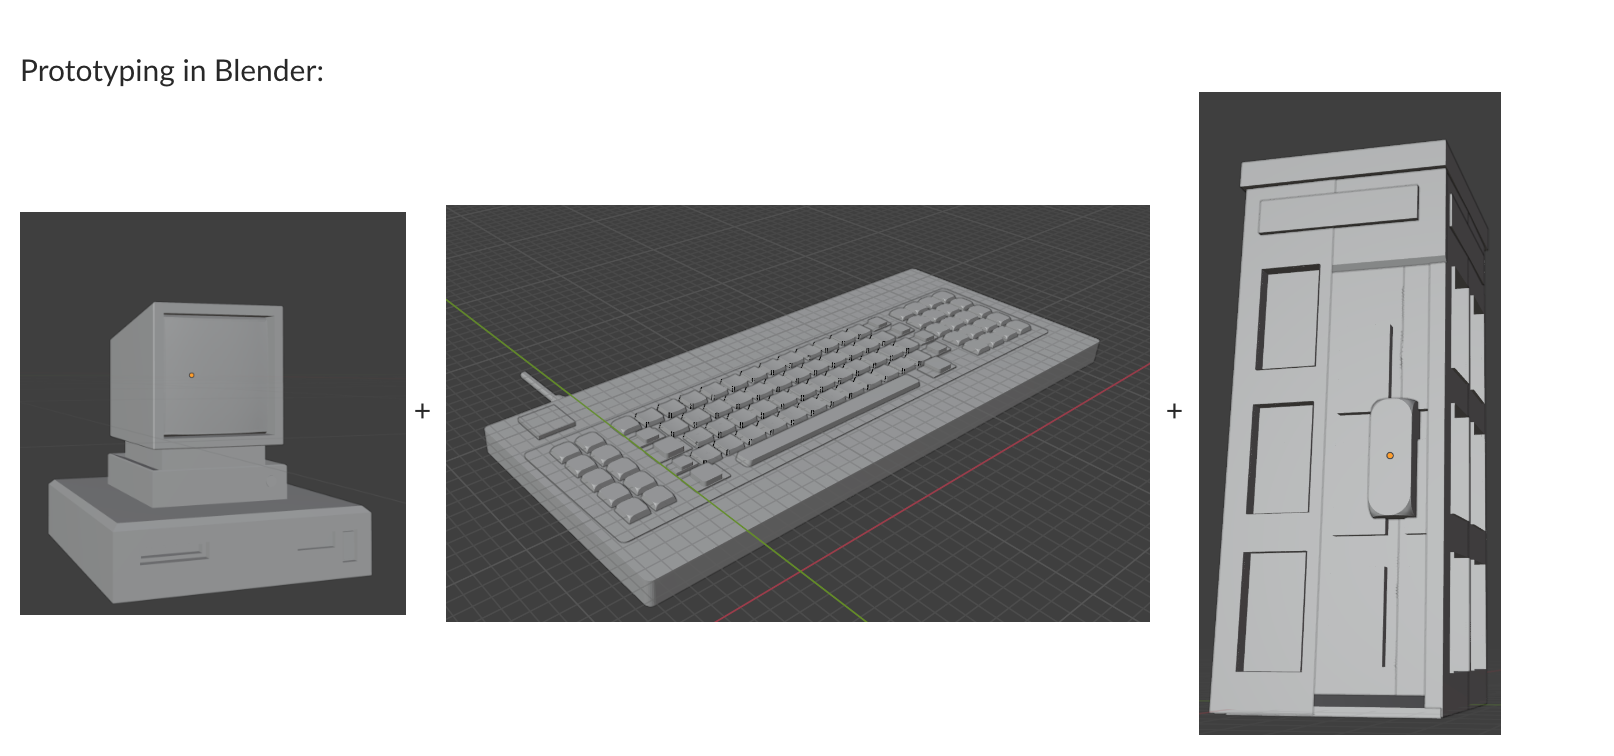
Phase II: Rough Prototyping + User Testing
From my workshops with Maya, I decided to begin switching over to Blender. For my prototypes, I went through different tutorials and workshops to begin working within the space and understanding the shortcuts.
https://www.youtube.com/watch?v=Rqhtw7dg6Wk
https://www.youtube.com/watch?v=CHmE5G2zUxE
https://www.youtube.com/watch?v=Rqhtw7dg6Wk
https://www.youtube.com/watch?v=CHmE5G2zUxE
For each Rough Prototype and User Testing, I would leverage the integration of Adobe Aero with Blender to create a form of simplistic geographic shapes. With the goal to design an interactive prototype to showcase my future works in a tangible way. With these creations in Adobe Aero along with User Testing, I would gain the ability to anchor these objects within each necessary area to assist with troubleshooting (scaling issues, interaction, and anchor points).
Examination of Design: Rough Prototype + User Testing
Concept Development: In this stage I would sketch the core elements of the AR experience adn the simple shapes of how I hoped the objects existed within the space. I would make sure to focus on the user interaction and make sure each .obj file behaved correctly with both placement and textures.
Modeling and Animation: This is where I would create the actual rough prototypes that would be needed for a basic use case using Blender. I would create rough 3D models and animations or sounds relevant to each object. The main focus would be on keeping the models to a low-poly count for an easy user experience in Adobe Aero.
Integration with Adobe Aero: I would import them into Adobe Aero. This is where I can start to include animations that are triggered by the user. I can also see what they feel should be clickable or gesture controlled. Within this process, I would refine the prototype based on user feedback and what I began to examine. Sorting out functionality and speeding up the process for a more effective final. As I built my prototypes, I experimented with different modeling and texturing. I tried to make sure I was paying close attention to how Blender’s tools could be used to create a good workflow. I explored procedural modeling and used planes to begin creating my model on top of the reference image of my object. Each artifact helped served as an opportunity to practice new techniques, refine my skills, and develop a workflow that worked well for my needs and creating my objects
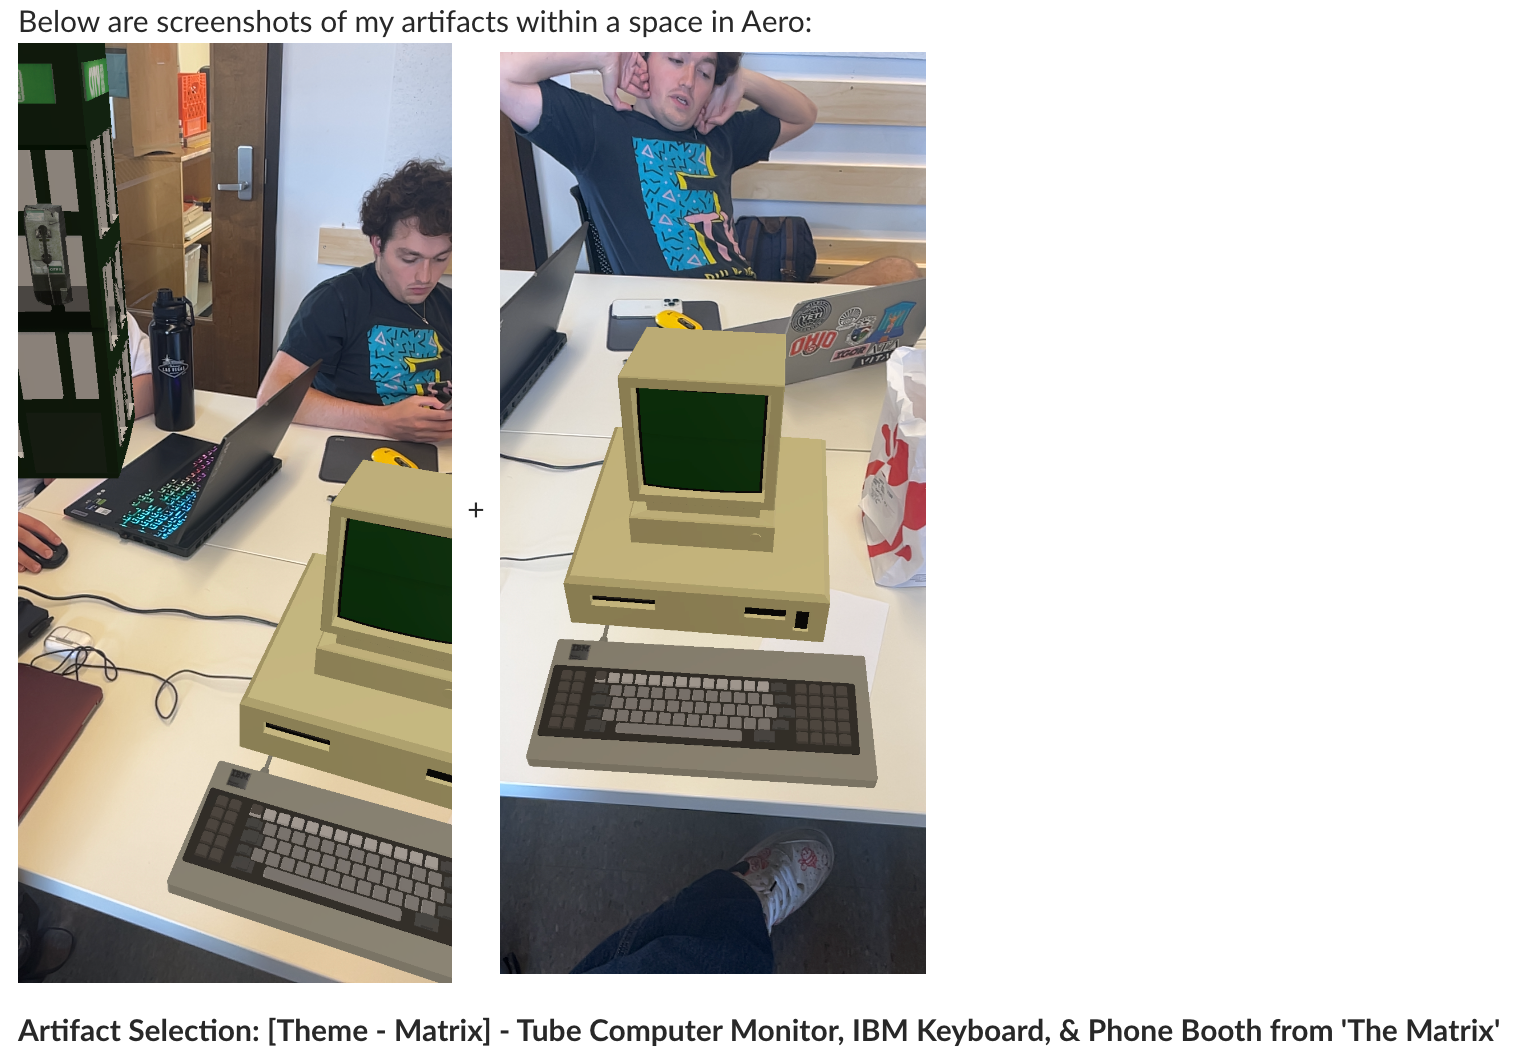
Phase III: Final
In reflection on creating these artifacts, I feel it was a great introduction to working in a 3D space. I need to work better on the integration to Adobe Aero and creating believable renders and materials throughout my artifacts. I look forward to using this creative tool to make new ideas come to life either with 3D printed or immersion in AR/VR. Moving forward, I want to deepen my understanding of lighting and texturing to enhance the realism of my projects, ensuring that they stand out in both static and interactive environments. As I continue experimenting, I’m excited to see how these tools will help me push the boundaries of what’s possible in both physical and digital spaces.